Happy New Year! You know what that means, right? It’s Vision Board SZN, baby!
Hands up if you’re using the extra time at home to finally go after your big goals and make concrete plans on achieving them. I know I am!
The amazing thing about vision boards is they help you bring your desires, dreams and goals from your mind to IRL. The idea behind a vision board is that by having your goals and intentions visible, your mind is constantly reminded of these goals and focus areas, making your subconscious mind work harder at making them happen. If we attract into our life what we put our focus into, a vision board makes the perfect recipe for success!
Before starting your board, take some time to reflect. Maybe even journal with a candle if it feels right and helps the inspiration flow.
STEP 1 — Imagine what your “authentic you” looks like.
Where does she live? Does she travel? If so, where? Who are the people in her life? What is her work like? What does she do for fun? How does she view the world? What has she achieved? How does she view herself? What are her relationships like? What are her deepest goals?
You may also want to ask yourself: How can I grow…?
- Personally
- Mentally
- Physically
- Intellectually
- In my relationships
- Financially
Putting yourself in the shoes of future you helps to clarify the things you’d like to achieve. You don’t need to worry about how they happen. Just simply knowing you want them is enough!
STEP 2 — Decide what is going on your vision board (either IRL or digitally).
If you’re creating an IRL board, you’ll want to pick up magazines, art and quotes that inspire you. I love the Tezza Collage Kits for major inspiration and aesthetics! Start to pull pieces that you’ll want to add to your board.
If you’re creating a digital board, you can use Pinterest, Instagram and Unsplash to find inspirational photos that represent the life you want! Remember: Your vision board is about the feelings + emotions that inspire you from the specific images you choose, so as you sift through images, consider how you feel when you look at them. I find that curating images online is a lot quicker than IRL.
Some categories you may want to include in your photo curation:
- Family & friends
- City you live in and what your home is like
- Your finances
- Career milestones and highlights
- Travel / locations
- Health
There’s no right or wrong way to do this – it’s all about what feels right for you!
STEP 3 — Curate images + build your board.
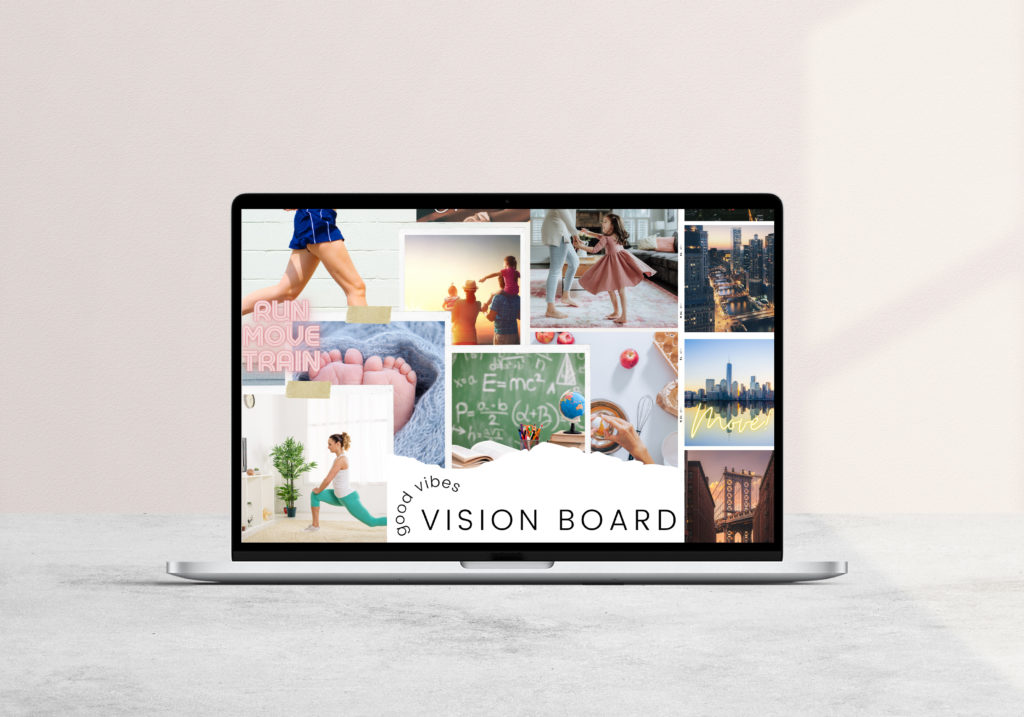
For my vision board, I usually create them digitally in Procreate or Photoshop but I’ve also made you a FREE Canva Vision Board Template to use. Canva is great if you’re not into Photoshop, Illustrator, etc. What is important is that you can arrange photos with text however you want.
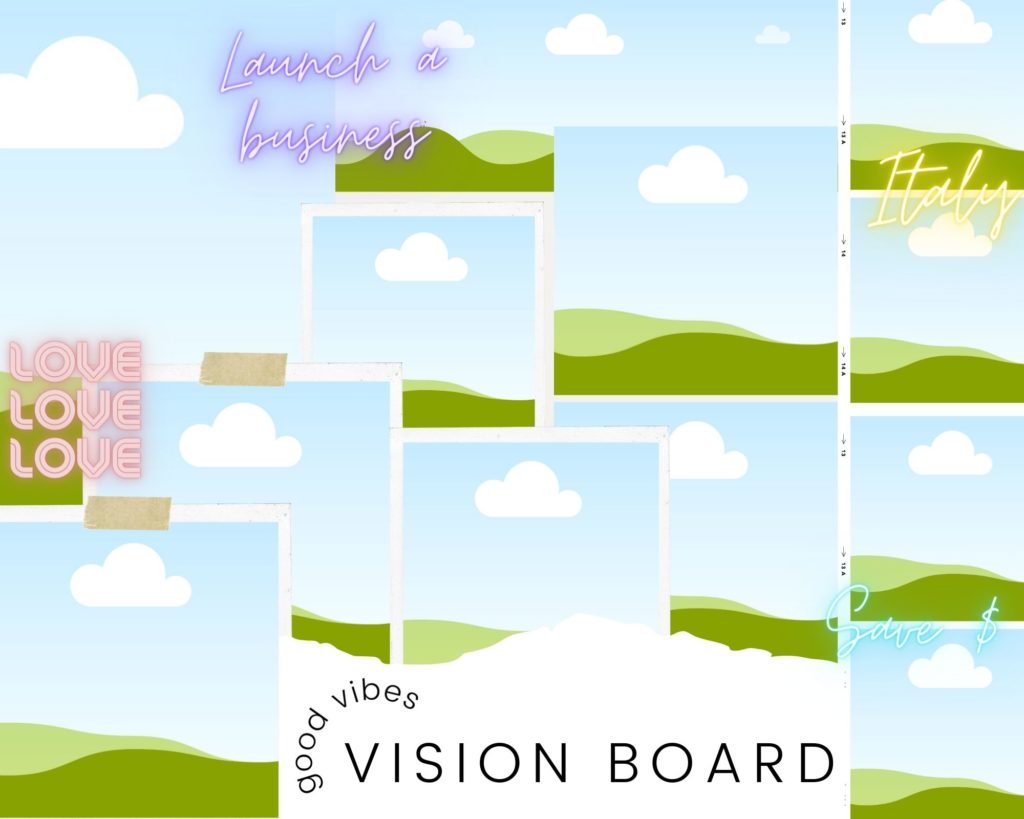
Canva has a picture search feature that you can use to find photos. You can also use your own photographs or source them from free stock image sites.
Find photos and words that represent your goals. Look for pictures that really resonate with and inspire you. You want to really connect with it and feel like you already have it! Set the mood with a chill vibes playlist and let the creativity flow.
Don’t forget to add words or phrases that create a positive feeling for you.
…And that’s all it takes!
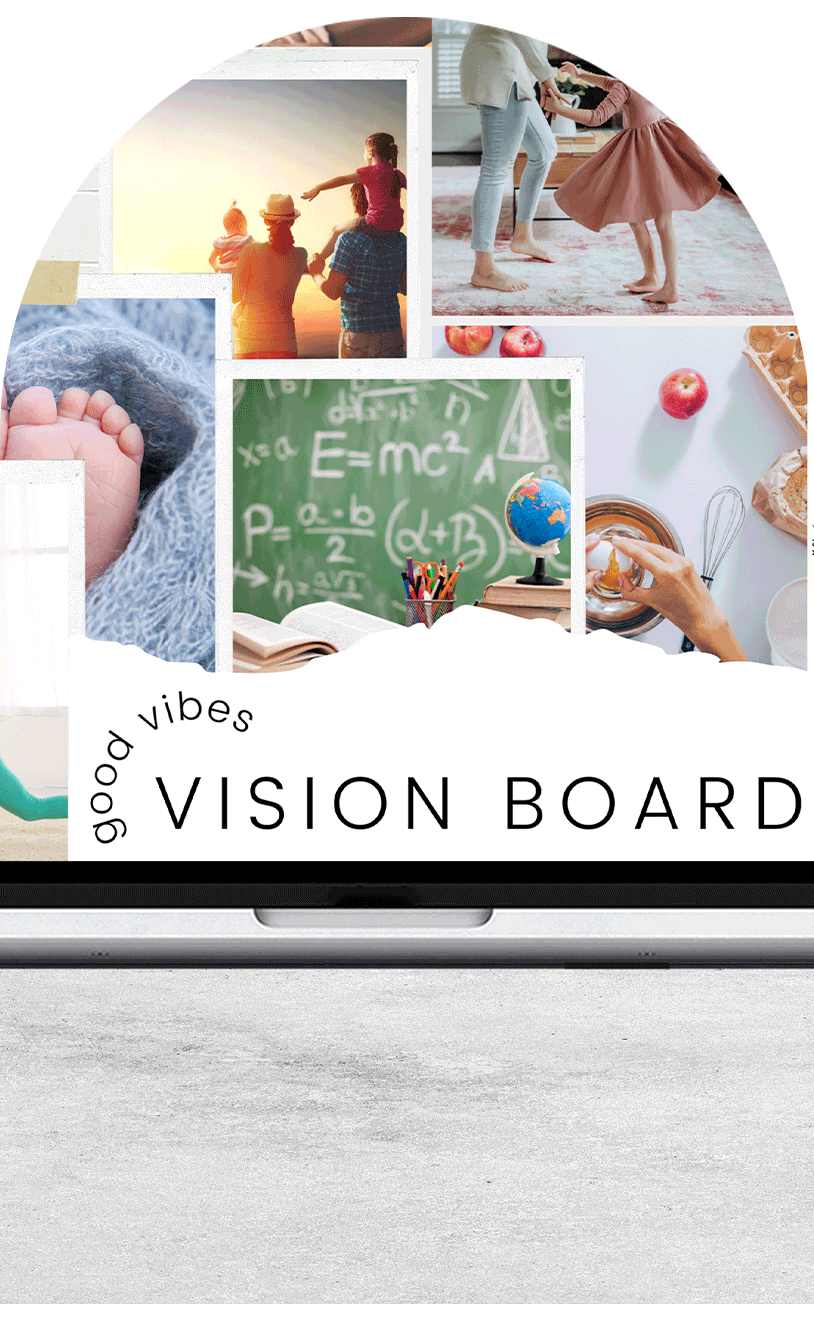
P.S. Once you’re done building your digital board, export the image file and try setting it as your phone or computer background for an extra dose of motivation every time you see it!
Xo
Scribble Society
File Under:
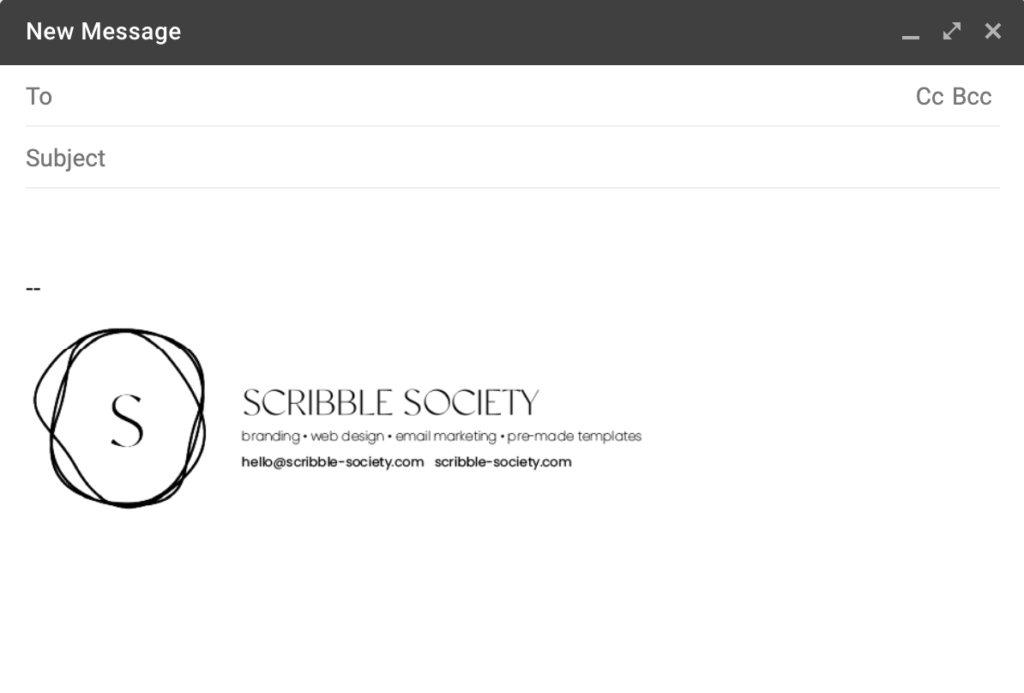
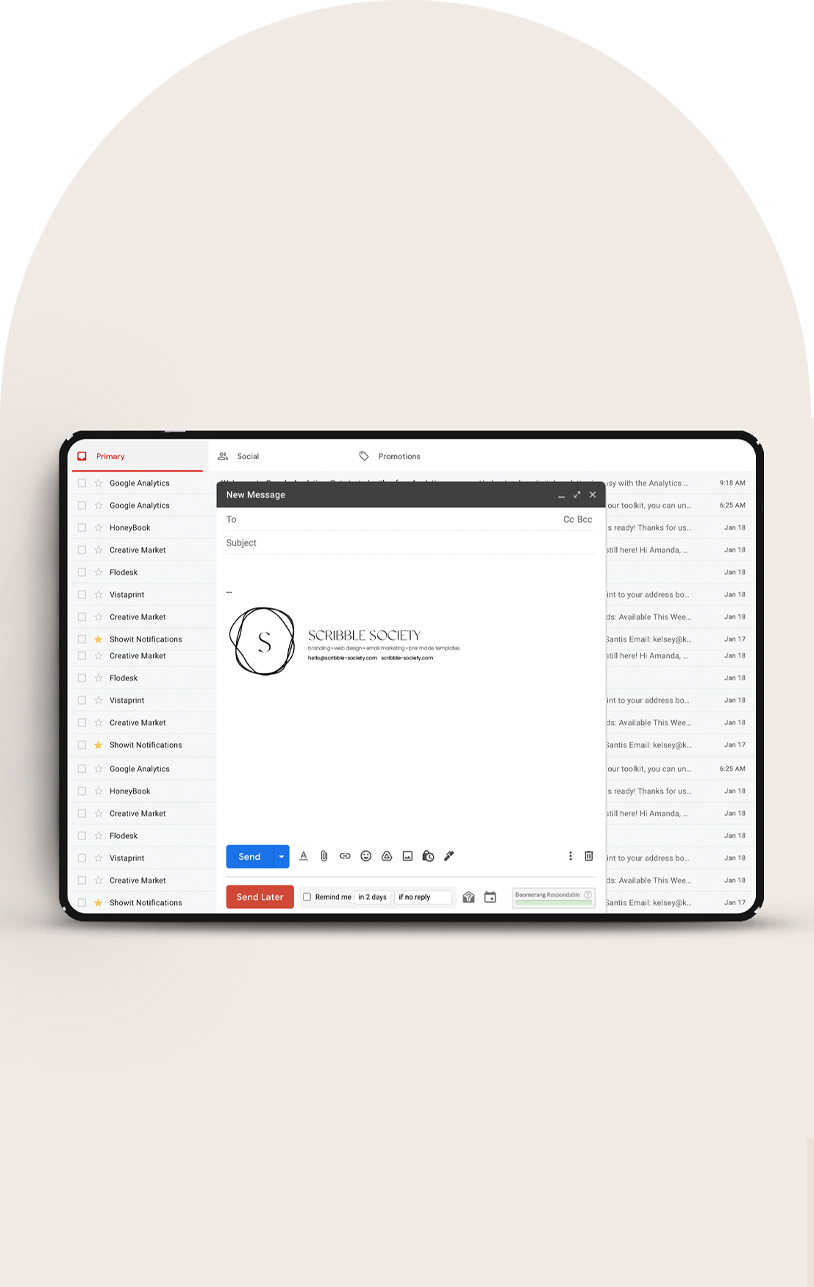
When it comes to your brand’s online presence, the little things matter. From your Instagram’s color palette to your email signature theme, creating a consistent experience online is essential for your brand. A stunning and unique email sig not only helps get your information across, but it also gives you a chance to highlight your brand’s personality and make you stand out.
Use our Canva template to customize your own unique email signature.


How to add to Gmail:
- Export your new Canva email sig as a PNG
- Go to settings and click “See all settings”
- Under “General”, scroll down until you see “My signature”. From there, upload your PNG file from Canva and click to resize until it fits properly.
- Click “Save changes.”
- Don’t forget to add your website link!
How to add to Outlook:
- Export your new Canva email sig as a PNG
- In Outlook, click “View all Outlook Settings”
- Click “Compose and reply” to add an image. Then upload your Canva PNG file and resize until it fits properly.
- Click “Save changes.”
- Don’t forget to click the image and add your website link!
What how-to do you want to see next?
File Under:
Have you ever wondered how to make your own glitter cutout photos for IG + beyond? If so, grab your iPad and follow along!
Start by uploading the photo into Procreate that you want to add glitter to.
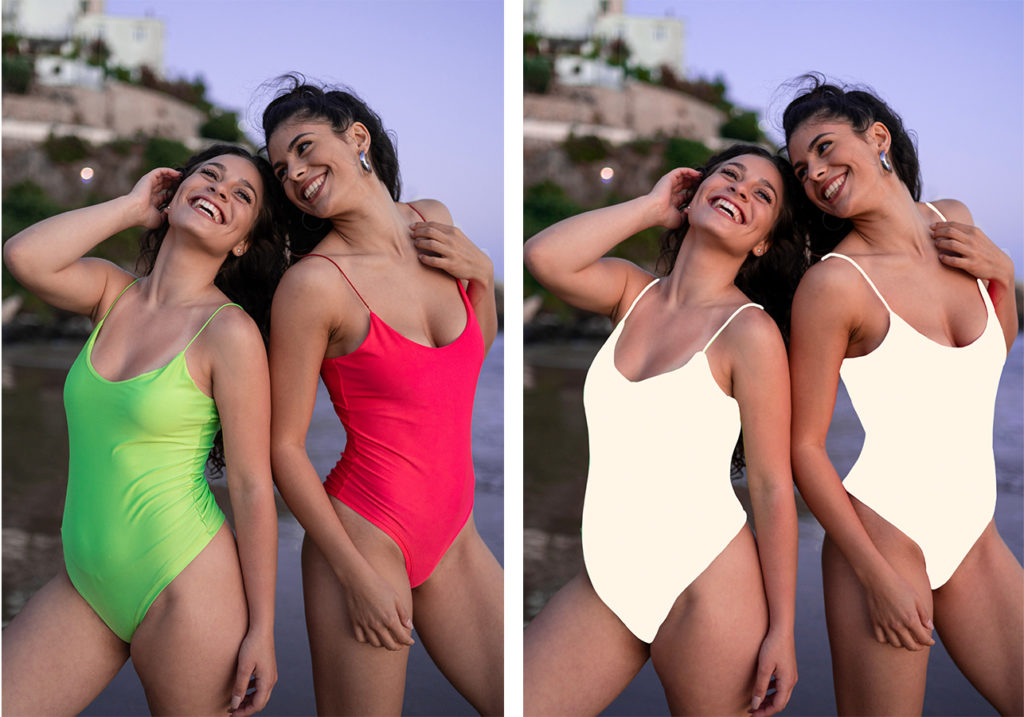
In a separate layer, color over the areas you want to add glitter-fy. For this step I used the Studio Pen brush to color over the top of the swimsuits that I want to be glittered. Below is a before + after. Before coloring on iPad (left) + after coloring (right).
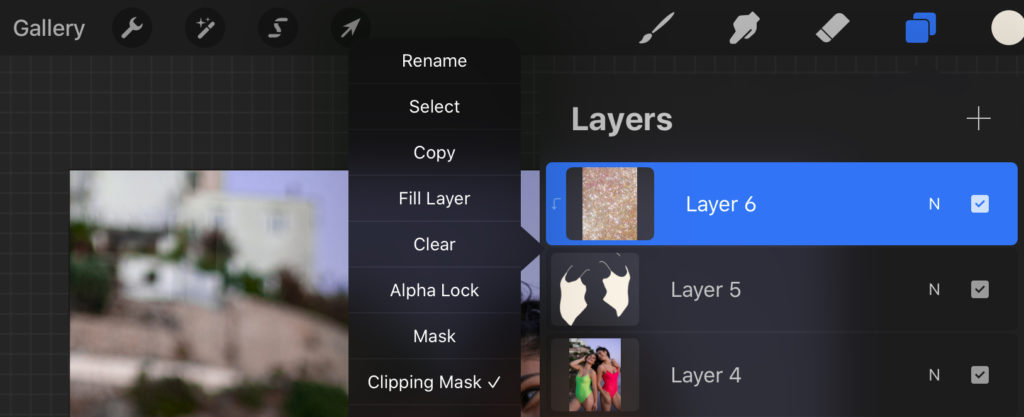
Now, in a new layer, upload the glitter texture of your choice. You can find tons of glitter background on Creative Market for purchase, Next, set it as a clipping mask.
Tap the new layer and options will pop up. Select clipping mask – illustrated below. This keeps the boundary of the image to only the areas you drew in the last step.
Boom! Now you can dazzle your feed.

What do you want to learn next? Tell us below!
File Under:
